Let’s talk about wood paneling. You know, the kind that screams 1970s rec room or grandma’s cozy cabin? Whether you love it or hate it, there’s no denying that a fresh coat of paint can turn those dated grooves into a modern masterpiece.
But here’s the thing: painting paneling isn’t like painting drywall. It’s got quirks. It’s got grooves. And oh boy, does it have opinions about how it should be treated. But don’t sweat it—I’ve got your back.
How to paint wood paneling
Grab a coffee (or a margarita, no judgment), and let’s turn that paneling into your home’s new favorite feature.
Step 1: Assess Your Paneling’s Condition
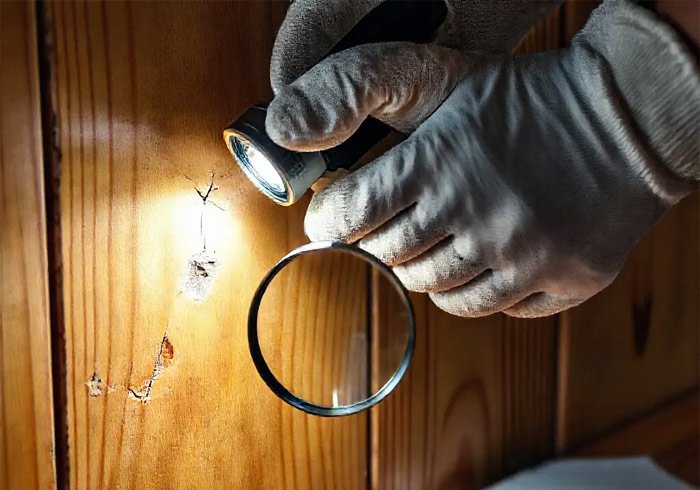
First things first—get up close and personal with your paneling. Is it real wood, like the sturdy oak your dad insists is “vintage”? Or is it that thin veneer stuff that’s basically the particle board of the paneling world? Give it a gentle poke.
Check for cracks, warping, or that weird orangey gloss that’s seen one too many dust rags. Shine a flashlight into the grooves. If you spot cobwebs or what looks like 50 years of crumbs, congrats—you’re in for a deep clean.
Why This Matters
Here’s the kicker: Veneer paneling is like that friend who’s high-maintenance but won’t admit it. Sand it too hard, and you’ll scratch through the top layer.
Skip cleaning, and your paint will peel faster than a sunburn. And if your paneling has nicotine stains? Bless. You’ll need more than good vibes to tackle that.
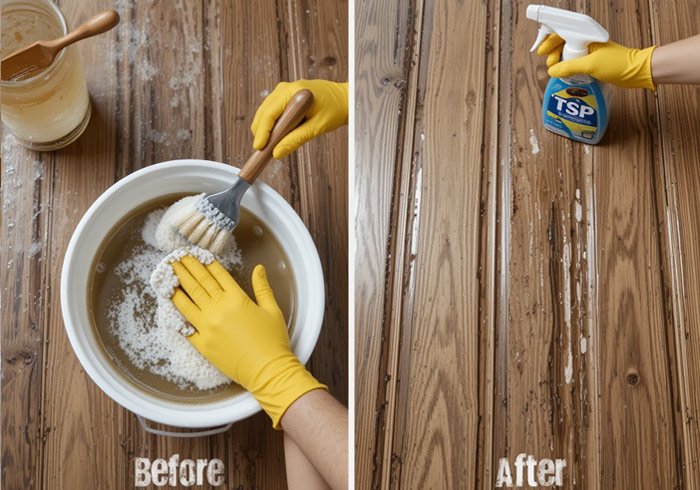
A mix of TSP (trisodium phosphate, not the band) and water is your new BFF. Trust me, this step is like flossing—annoying, but future-you will be so grateful.
Step 2: Clean and Degrease Meticulously
Time to get dirty to get clean. Mix up that TSP solution, throw on some gloves that make you feel like a mad scientist, and scrub like you’re exorcising the ghost of home decor past.
Focus on the grooves—those little trenches collect grime like a toddler’s pockets collect rocks. Use a stiff brush, an old toothbrush, or whatever gets your rage-cleaning juices flowing.
Rinse with water, then let it dry completely. And I don’t mean “eh, it’s mostly dry.” I mean “wait 24 hours even if it kills you” dry.
The Secret Sauce
TSP isn’t just a cleaner—it’s basically a microscopic sandpaper that roughs up the surface so primer can stick. Skip the DIY Pinterest hacks (vinegar won’t cut it here).
If water still beads up after cleaning, that paneling is sneakier than you think. Break out the TSP again and show it who’s boss.
Step 3: Sand Strategically
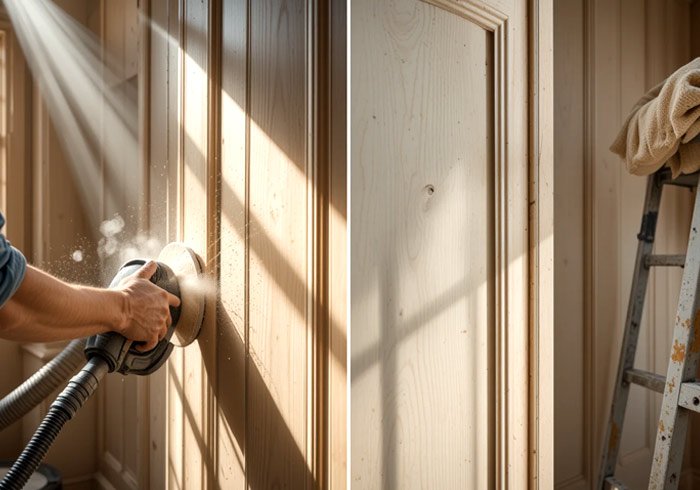
Grab some 120-grit sandpaper and go to town. But not too hard—this isn’t arm day at the gym. You’re aiming to rough up the surface, not create sawdust confetti.
Use a sanding block for flat areas and your fingers wrapped in sandpaper for grooves (pretend you’re giving the paneling a massage).
Vacuum up the dust, then wipe with a tack cloth. Yes, it’s tedious. No, you can’t skip it unless you want paint that flakes like a croissant.
Pro Tip
If your paneling is veneer, treat it like a delicate pastry. Use 150-grit paper and gentle pressure. For real wood, lean into it—those grooves can handle some love.
And for the love of Pinterest, seal off the room with plastic. Dust gets everywhere. (Seriously, you’ll find it in your socks later.)
Step 4: Prime Like Your Paint Job Depends on It
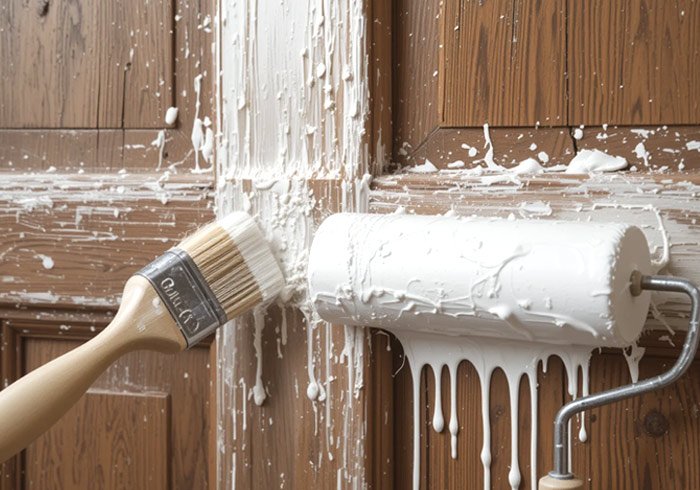
Primer is like Spanx for your walls—it smooths out flaws and makes everything look seamless. Use a stain-blocking primer if your paneling has watermarks or knots that gossip about your DIY skills.
Cut in around the grooves with a brush, then roll the rest. Let it dry completely. And no, blowing a hair dryer on it doesn’t count.
Why You’ll Thank Me Later
Oil-based primer is bulletproof for tricky woods like cedar, but it reeks like a chemistry lab. Water-based primer (like Zinsser) is faster and smells less like regret.
Pro move: Tint your primer to match your topcoat color. It’s like cheating at painting—fewer coats, better coverage.
Step 5: Choose Paint Wisely
Satin or semi-gloss finishes are your friends here. They’re durable, easy to clean, and make those grooves look intentional (read: designer).
Go with acrylic latex for easy cleanup, or oil-based if you’re painting a high-traffic area (like a hallway your kids treat as a NASCAR track).
The Drama of Sheens
Semi-gloss reflects light and adds depth—perfect for making a dark room feel airy. Matte paint? Gorgeous, but it’ll show every fingerprint and dog nose smudge.
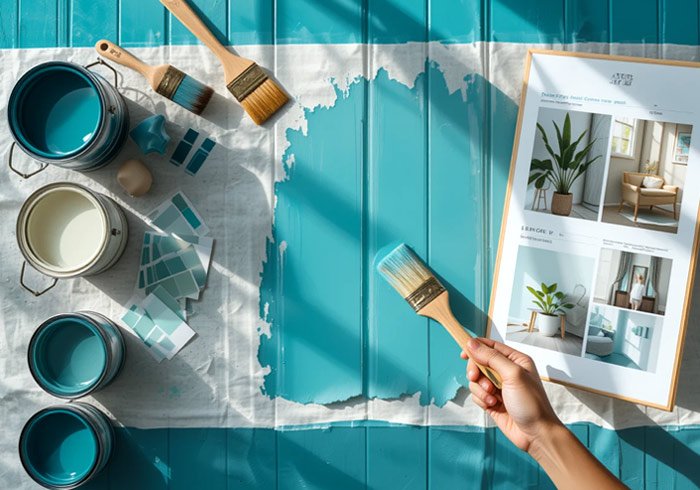
Test colors at different times of day. That “perfect greige” might look prison-gray under fluorescent lights.
Step 6: Master Cutting-In and Rolling
Use an angled brush to cut in around edges and grooves. Load the brush halfway, tap off the excess (no drips!), and glide it like you’re painting the Mona Lisa’s eyebrows.
Roll the flat areas in “W” shapes to spread the paint evenly. Work in small sections and keep a “wet edge” to avoid streaks.
Brush Nerd Alert
Synthetic brushes for latex paint, natural bristles for oil-based. And if you see brush marks? Don’t panic. Sand lightly between coats and pretend you meant to do that.
Step 7: Embrace the Second Coat
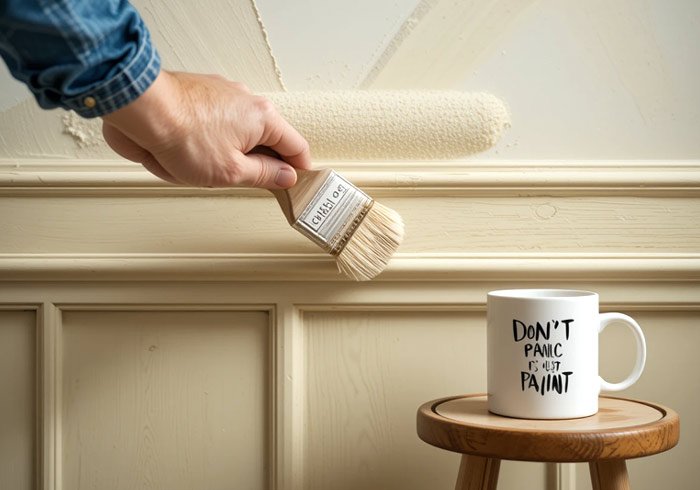
Let the first coat dry for at least 4 hours. Sand lightly with 220-grit paper (this is called “de-nibbing,” which sounds weird but works). Apply the second coat in the opposite direction of the first. Admire how rich and velvety it looks.
Go Big or Go Home
If you’re using a bold color, a third coat adds serious drama. For extra credit, mix a glaze with your paint and rag it on for a weathered, vintage look. You’re basically a Renaissance artist now.
Step 8: Detail Work Makes the Difference
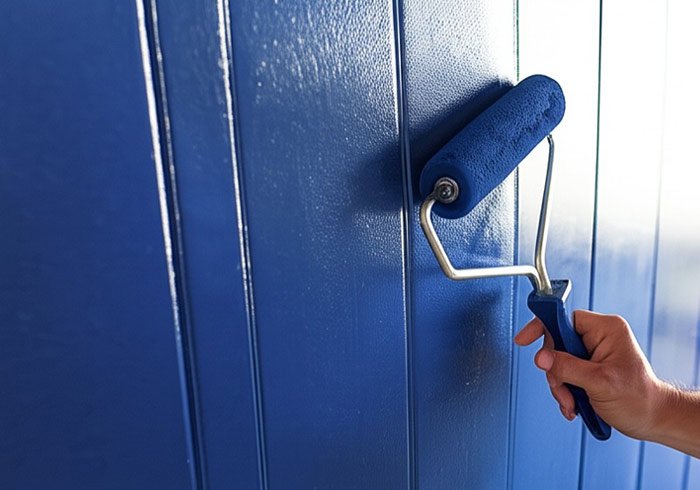
Touch up chips with a tiny artist’s brush. Run paintable caulk along the edges where the paneling meets the wall—it hides gaps and screams “custom install.”
Swap out old outlet covers for modern ones. Add trim or peel-and-stick molding if you’re feeling extra.
Why This Rocks
Caulk is the duct tape of home decor. It fixes sins. And swapping hardware is like putting lipstick on a room—instant upgrade.
Step 9: Protect and Maintain
Avoid scrubbing for a month (paint needs time to cure). Dust with a microfiber cloth. Keep leftover paint for touch-ups—because life happens, and so do coffee splatters.
Curing vs. Drying
Drying takes hours; curing takes weeks. Be patient. If you’re painting a kitchen, add a clear topcoat for wipeability. Because spaghetti sauce shouldn’t be a wall accessory.
Step 10: Troubleshoot Like a Pro
Peeling? Sand it down, re-prime, and repaint. Brush marks? Sand and do a thin third coat. Yellowing? Blame sunlight and switch to a UV-resistant topcoat.
Keep Calm and Paint On
Mistakes are just “custom texture.” Keep a mini paint kit for quick fixes. You’ve got this.
Final Thoughts
Look at you, paneling Picasso! What started as a dated eyesore is now a fresh, modern feature. Throw a pizza party in your revamped room, then sit back and bask in the glory of your handiwork. Remember, every brushstroke was worth it. Now, who’s ready to tackle the kitchen cabinets?
