
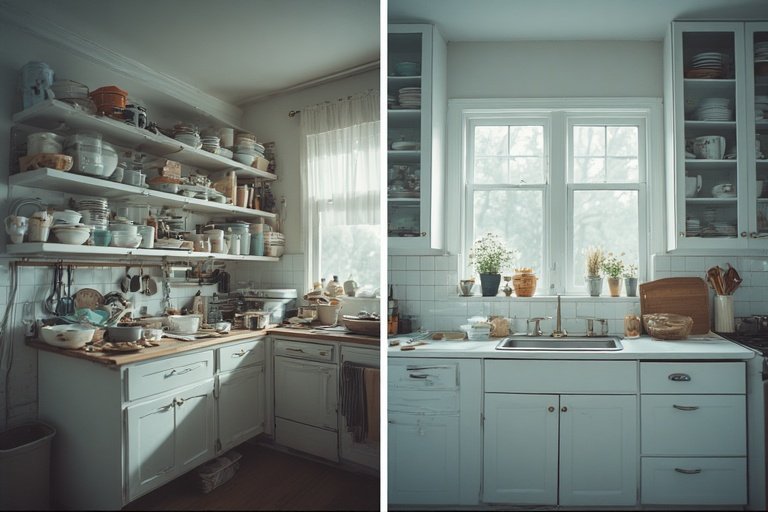
Let’s be real — opening your kitchen cabinets shouldn’t feel like a round of Jenga. You know that feeling when you reach for a plate, and suddenly, an avalanche of Tupperware comes crashing down like a culinary apocalypse? Yeah, we’ve all been there.
So, if your kitchen’s starting to look like a “before” picture in a home makeover show, you’re in the right place. I’ve been through the chaos (multiple times, actually), and I’ve learned a few sanity-saving tricks that will make your kitchen not just functional but actually enjoyable to use.

Ready to finally find your spatula without having to dig for it like you’re on a treasure hunt? Let’s get into it.
Step 1: Start with a Ruthless Declutter
Alright, let’s rip off the Band-Aid. Before you even think about “organizing,” you’ve got to declutter like a pro.
Pull Everything Out (Yes, Everything)
Empty every single cabinet and drawer. This might feel chaotic for a moment, but trust me, you can’t organize what you can’t see. Spread it all out on the counter or dining table so you can assess the damage.
Ever wonder how you ended up with six can openers and three sets of measuring cups? Same. It’s like kitchen tools multiply when you’re not looking.
Group Similar Items Together
Sort your stuff into piles: plates, glasses, cookware, bakeware, utensils, food storage, etc. Once you see everything grouped, it’s easier to identify duplicates and rarely used items.
Be Brutally Honest
Ask yourself:
- When was the last time I used this?
- Do I even like this gadget, or did it just look cool on Pinterest?
- Is this item worth the space it’s taking up?
If the answer is “uhh…” to any of those, you probably don’t need it.
Pro Tip: Create three boxes: Keep, Donate, and Trash. Don’t overthink — your future organized self will thank you.
Step 2: Plan Your Kitchen Zones
Now that you’ve cleared out the clutter, it’s time to think strategically. Kitchens work best when everything has a designated zone.
Think in “Zones,” Not Just Cabinets
Here’s a foolproof system I swear by:
- Cooking Zone: Pots, pans, spatulas, oils, spices.
- Prep Zone: Cutting boards, knives, mixing bowls, measuring tools.
- Cleaning Zone: Dish soap, sponges, towels, garbage bags.
- Food Storage Zone: Containers, wraps, foils, and baggies.
- Coffee/Tea Station: Mugs, filters, coffee, tea, sugar.
Keeping related items together saves time and frustration. You’ll never again be searching for a spoon while your pasta’s boiling over.
FYI: Place your most-used items in easy-to-reach spots. That fancy fondue set? Top shelf, my friend.
Step 3: Maximize Your Cabinet Space Like a Pro
Cabinet space is prime real estate. The key is to use every inch smartly without overcrowding.
Use Shelf Risers
Double your storage space instantly by adding stackable shelf risers. They’re perfect for stacking plates, bowls, or mugs without creating a wobbly tower of doom.
Install Pull-Out Organizers
Pull-out racks or sliding baskets are game changers. No more digging to the back of a dark cabinet like you’re searching for buried treasure.
Go Vertical
Use vertical dividers for baking sheets, trays, and cutting boards. It keeps them upright and easy to grab.
Add Hooks Inside Doors
Hang measuring spoons, pot lids, or even small cleaning tools inside cabinet doors. This trick is sneaky but oh-so-effective.
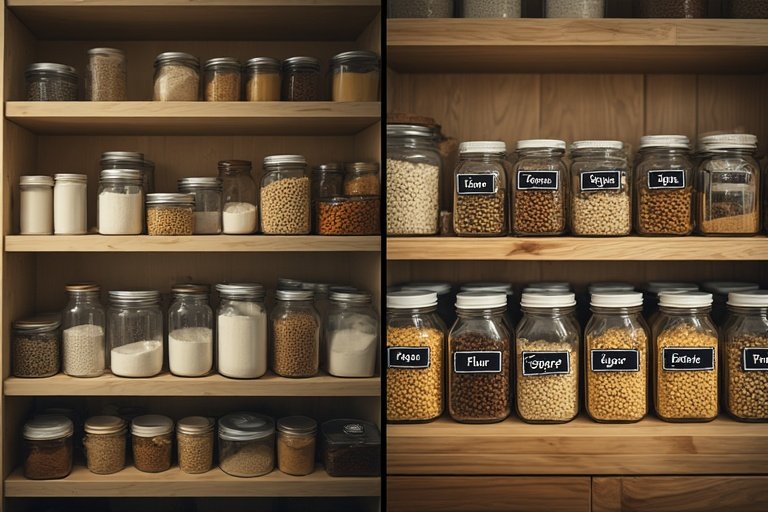
Clear Containers for Pantry Items
If you’re storing pantry items in cabinets, transfer them into clear, airtight containers. You’ll instantly see what you have, prevent spills, and feel like a Pinterest organizing guru.
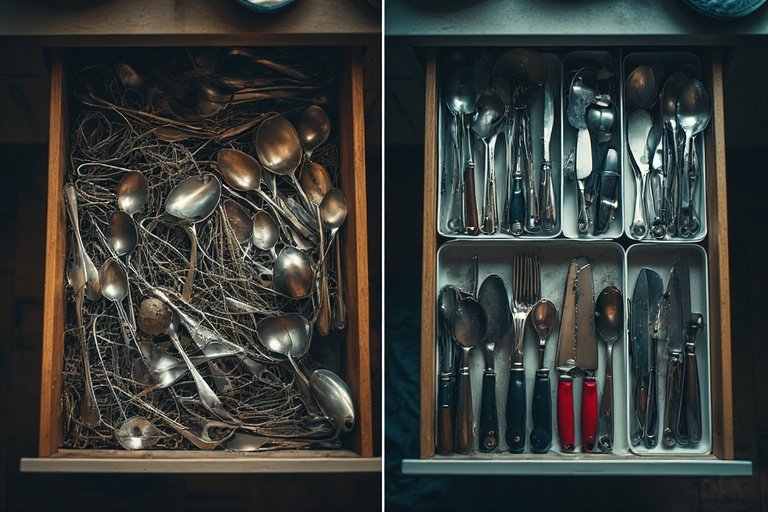
Step 4: Master the Drawer Game
Ah, drawers — the place where things go to disappear. But not anymore.
Drawer Dividers = Sanity Savers
You know that drawer that’s basically a black hole of utensils? Fix it with adjustable drawer dividers. Separate your spoons, knives, and gadgets so they stay in their lanes.
Keep Everyday Tools Handy
Place frequently used items (like spatulas and tongs) in the top drawer near the stove. Everything else can live in lower drawers.
The Junk Drawer (Yes, You Can Keep It)
Listen, everyone has one. Just make it functional. Use small containers or a modular tray to keep it from turning into chaos again.
Pro Tip: Label each compartment. “Batteries,” “Tape,” “Keys” — because, let’s be honest, we all forget where we put stuff.
Step 5: Use Labels (and Actually Stick to Them)
Labels might sound like overkill, but once you start using them, you’ll wonder how you lived without them.
Label Everything
From containers to baskets, labels make it super easy to find things and maintain the system. It’s like giving your future self a cheat sheet.
Types of Labels That Work Best:
- Chalkboard labels: Reusable and stylish.
- Printed stickers: Perfect for a clean, modern look.
- Minimalist tags: Great for baskets and bins.
Pro Tip: Keep a marker handy for quick updates. You’ll thank yourself when you switch from “flour” to “almond flour.”
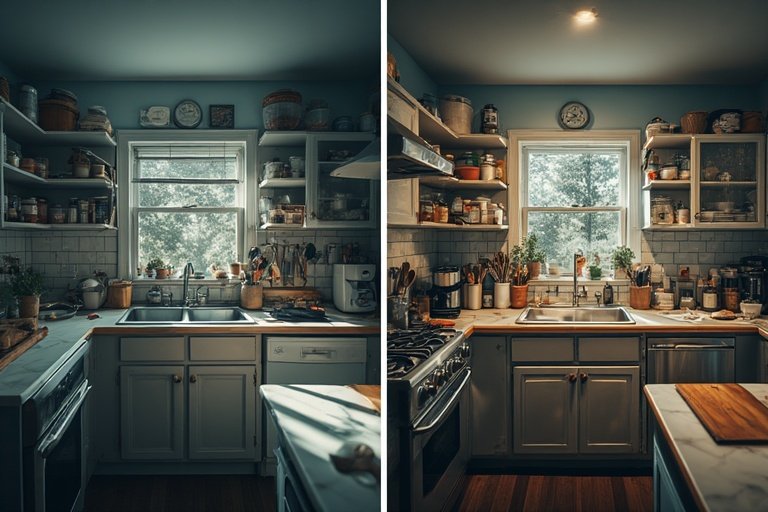
Step 6: Make Use of Vertical & Hidden Spaces
Most people forget about the spaces above and behind things — aka the “dead zones.”
Overhead Storage
Use the top of cabinets for rarely used items like holiday platters or extra appliances. Add baskets to keep them neat.
Under-Sink Organization
This area tends to become a dumping ground. Use stackable bins or under-sink organizers to separate cleaning supplies, trash bags, and sponges.
Side of Cabinets or Fridge
Mount a magnetic strip for knives or spice containers. You’ll free up counter and drawer space instantly.
Backs of Doors
Attach adhesive hooks or pocket organizers to store dish towels, oven mitts, or small cleaning supplies.

Step 7: Keep Everyday Essentials Accessible
Your kitchen should work with you, not against you. Store your most-used items within arm’s reach.
- Plates and bowls: Nearest the dishwasher for easy unloading.
- Cups and mugs: Near your coffee station.
- Cooking utensils: Next to the stove.
- Cutting boards: Close to your prep area.
Ask yourself, “Where do I use this most?” and organize accordingly. Trust me, a little planning now saves a lot of swearing later.
Step 8: Use Baskets and Bins to Tame the Chaos
You don’t have to spend a fortune to make your kitchen look organized. Baskets and bins work wonders.
Why They’re Amazing:
- They group small items together.
- They make deep cabinets easier to manage.
- They look really good — even if you’re hiding snacks inside.
Ideas for Using Baskets:
- Snack baskets for kids or midnight munchies.
- Spice bins to keep seasonings from rolling around.
- Cleaning baskets under the sink for easy grab-and-go.
Pro Tip: Go for clear or labeled bins so you know exactly what’s inside. No more mystery containers filled with who-knows-what.
Step 9: Maintain Your System (Without Losing Motivation)
Okay, you’ve organized everything. It’s looking Instagram-worthy. But how do you keep it that way?
Adopt a “One In, One Out” Rule
Buy a new pan? Donate an old one. Simple. This rule keeps clutter from sneaking back in.
Do a Mini Reset Every Week
Take 10 minutes every Sunday to tidy up your drawers and cabinets. Return things to their rightful place. It’s way easier than doing a full reorganization every few months.
Teach Everyone the System
If you share the kitchen, make sure everyone knows where things go. Otherwise, your “organized paradise” will turn into chaos faster than you can say “Where’s the spatula?”
IMO: Labeling and routine maintenance are what separate a truly organized kitchen from one that just looks organized for a week.
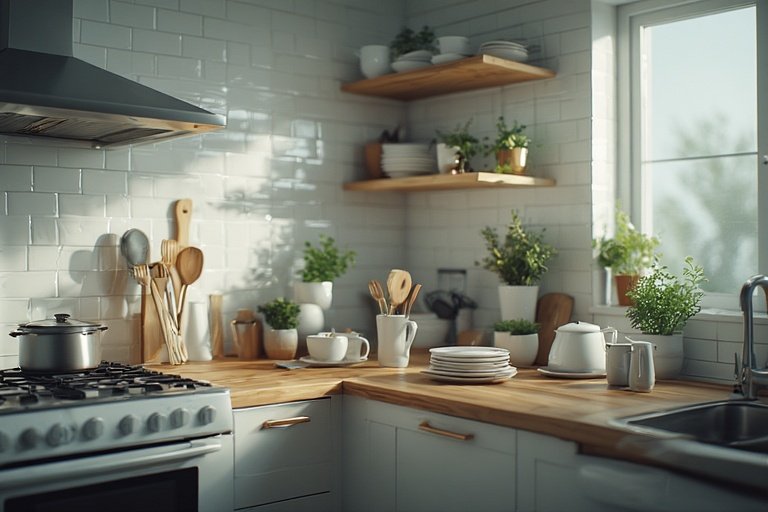
Step 10: Add Your Personal Touch
Just because it’s organized doesn’t mean it can’t have personality. Add touches that make it feel like you.
Ideas to Personalize:
- Use matching jars and labels for a clean aesthetic.
- Display your prettiest mugs or glassware on open shelves.
- Add a small plant or herb pot for a touch of green.
- Use scented sachets in drawers (because, why not?).
A kitchen should feel warm and inviting, not sterile and “don’t-touch-anything” perfect.
Bonus: Clever Little Hacks You’ll Wish You Knew Sooner
Let’s wrap up with a few underrated tips that make a huge difference:
- Lazy Susans for corner cabinets or pantry shelves.
- Tension rods under the sink to hang spray bottles.
- Drawer liners to keep surfaces clean and prevent sliding.
- Expandable racks for lids and cutting boards.
- Over-the-door racks for small pantries.
These tiny upgrades cost next to nothing but save you endless frustration.
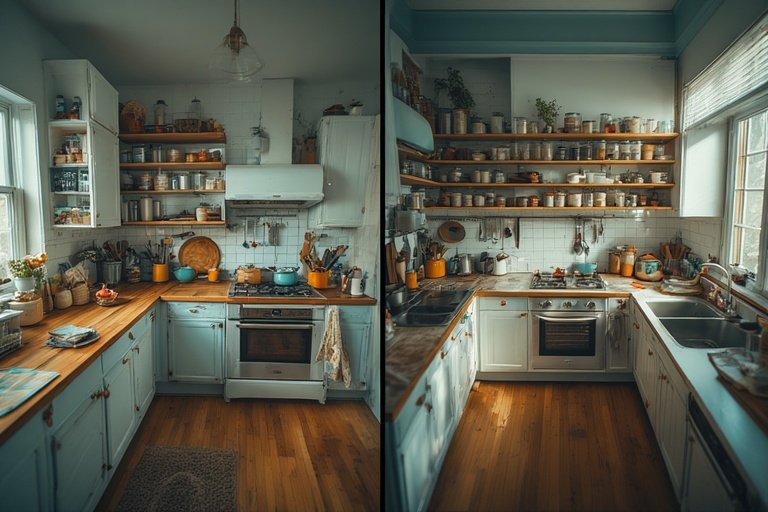
Final Thoughts: From Chaos to Calm
Organizing your kitchen cabinets and drawers doesn’t have to be a full-blown life event (although it might feel like one at first). The key is simplicity + consistency.
Start with decluttering, assign zones, maximize space, and use organizers that actually work for your lifestyle. You don’t need to buy every gadget under the sun — just find systems that make sense for you.
And honestly? The best part is opening a drawer and actually finding what you need on the first try. It’s the little things 🙂
So, grab a coffee, roll up your sleeves, and start transforming your kitchen into the calm, clutter-free haven it deserves to be. Because let’s face it — you spend a lot of time there, and it might as well spark a little joy every time you open a cabinet.